


SOLUTION DETAILS
2026-03-05
Calibration Procedure for Hardness Tester
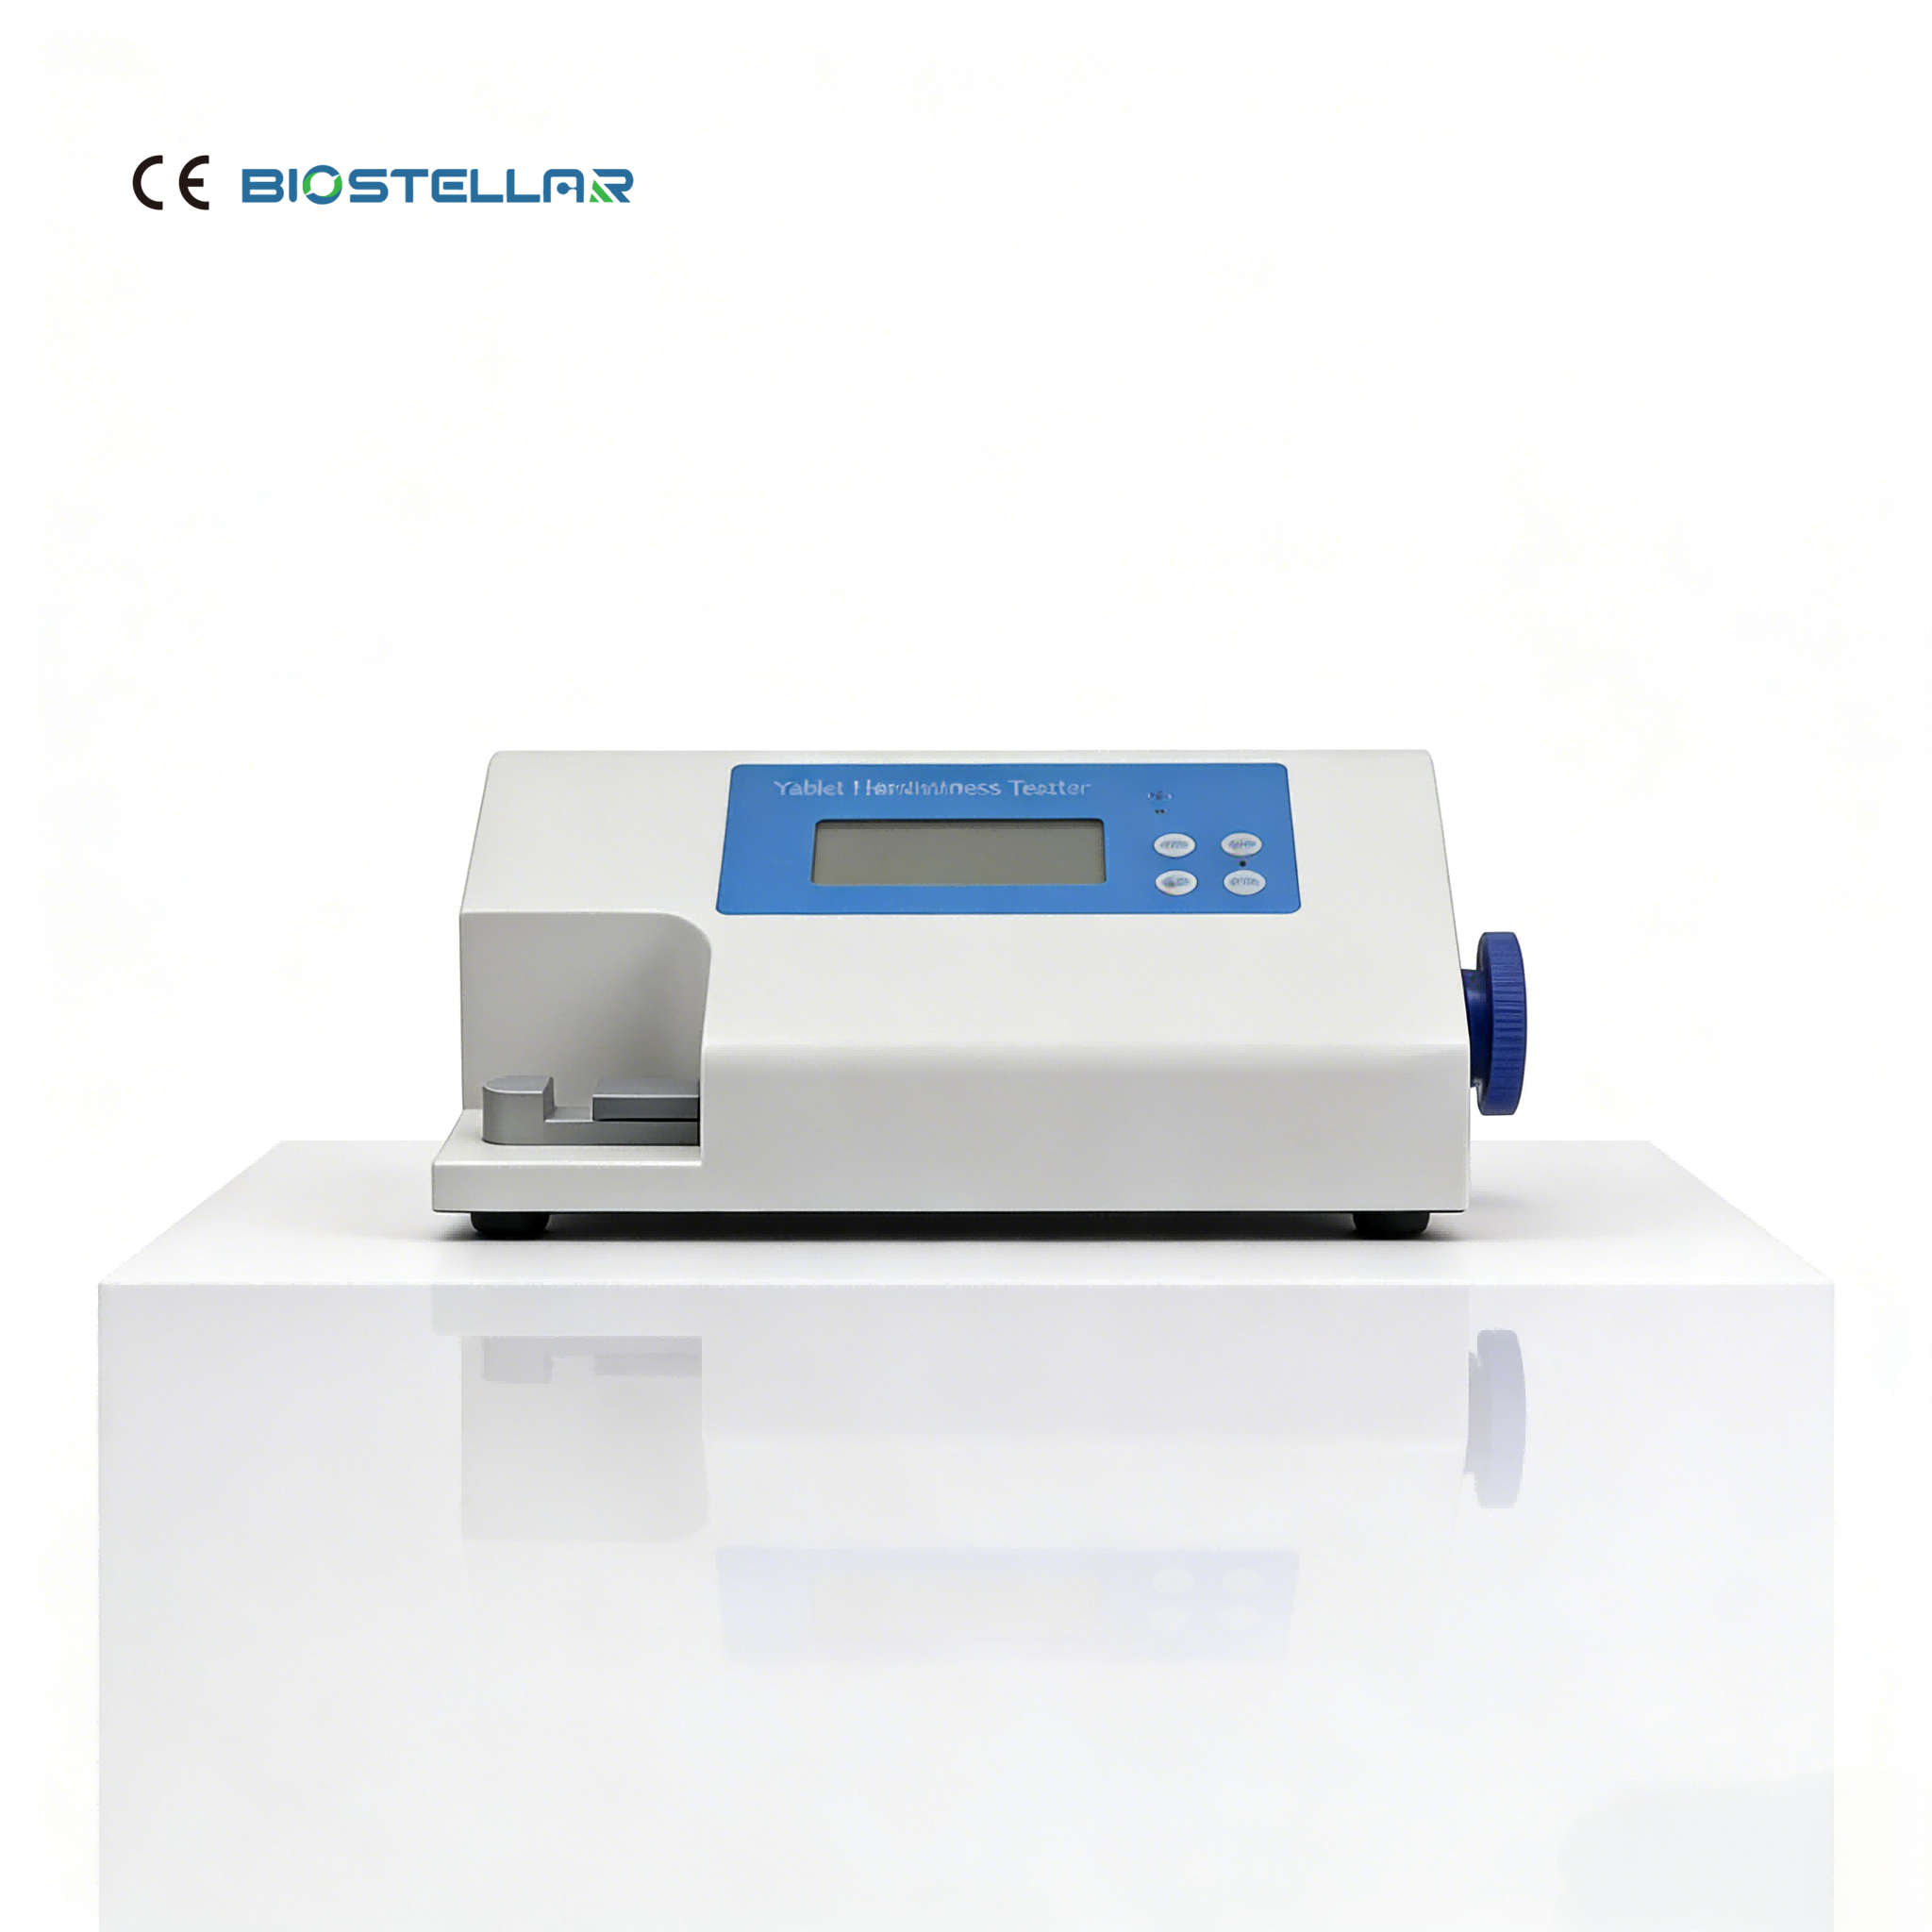
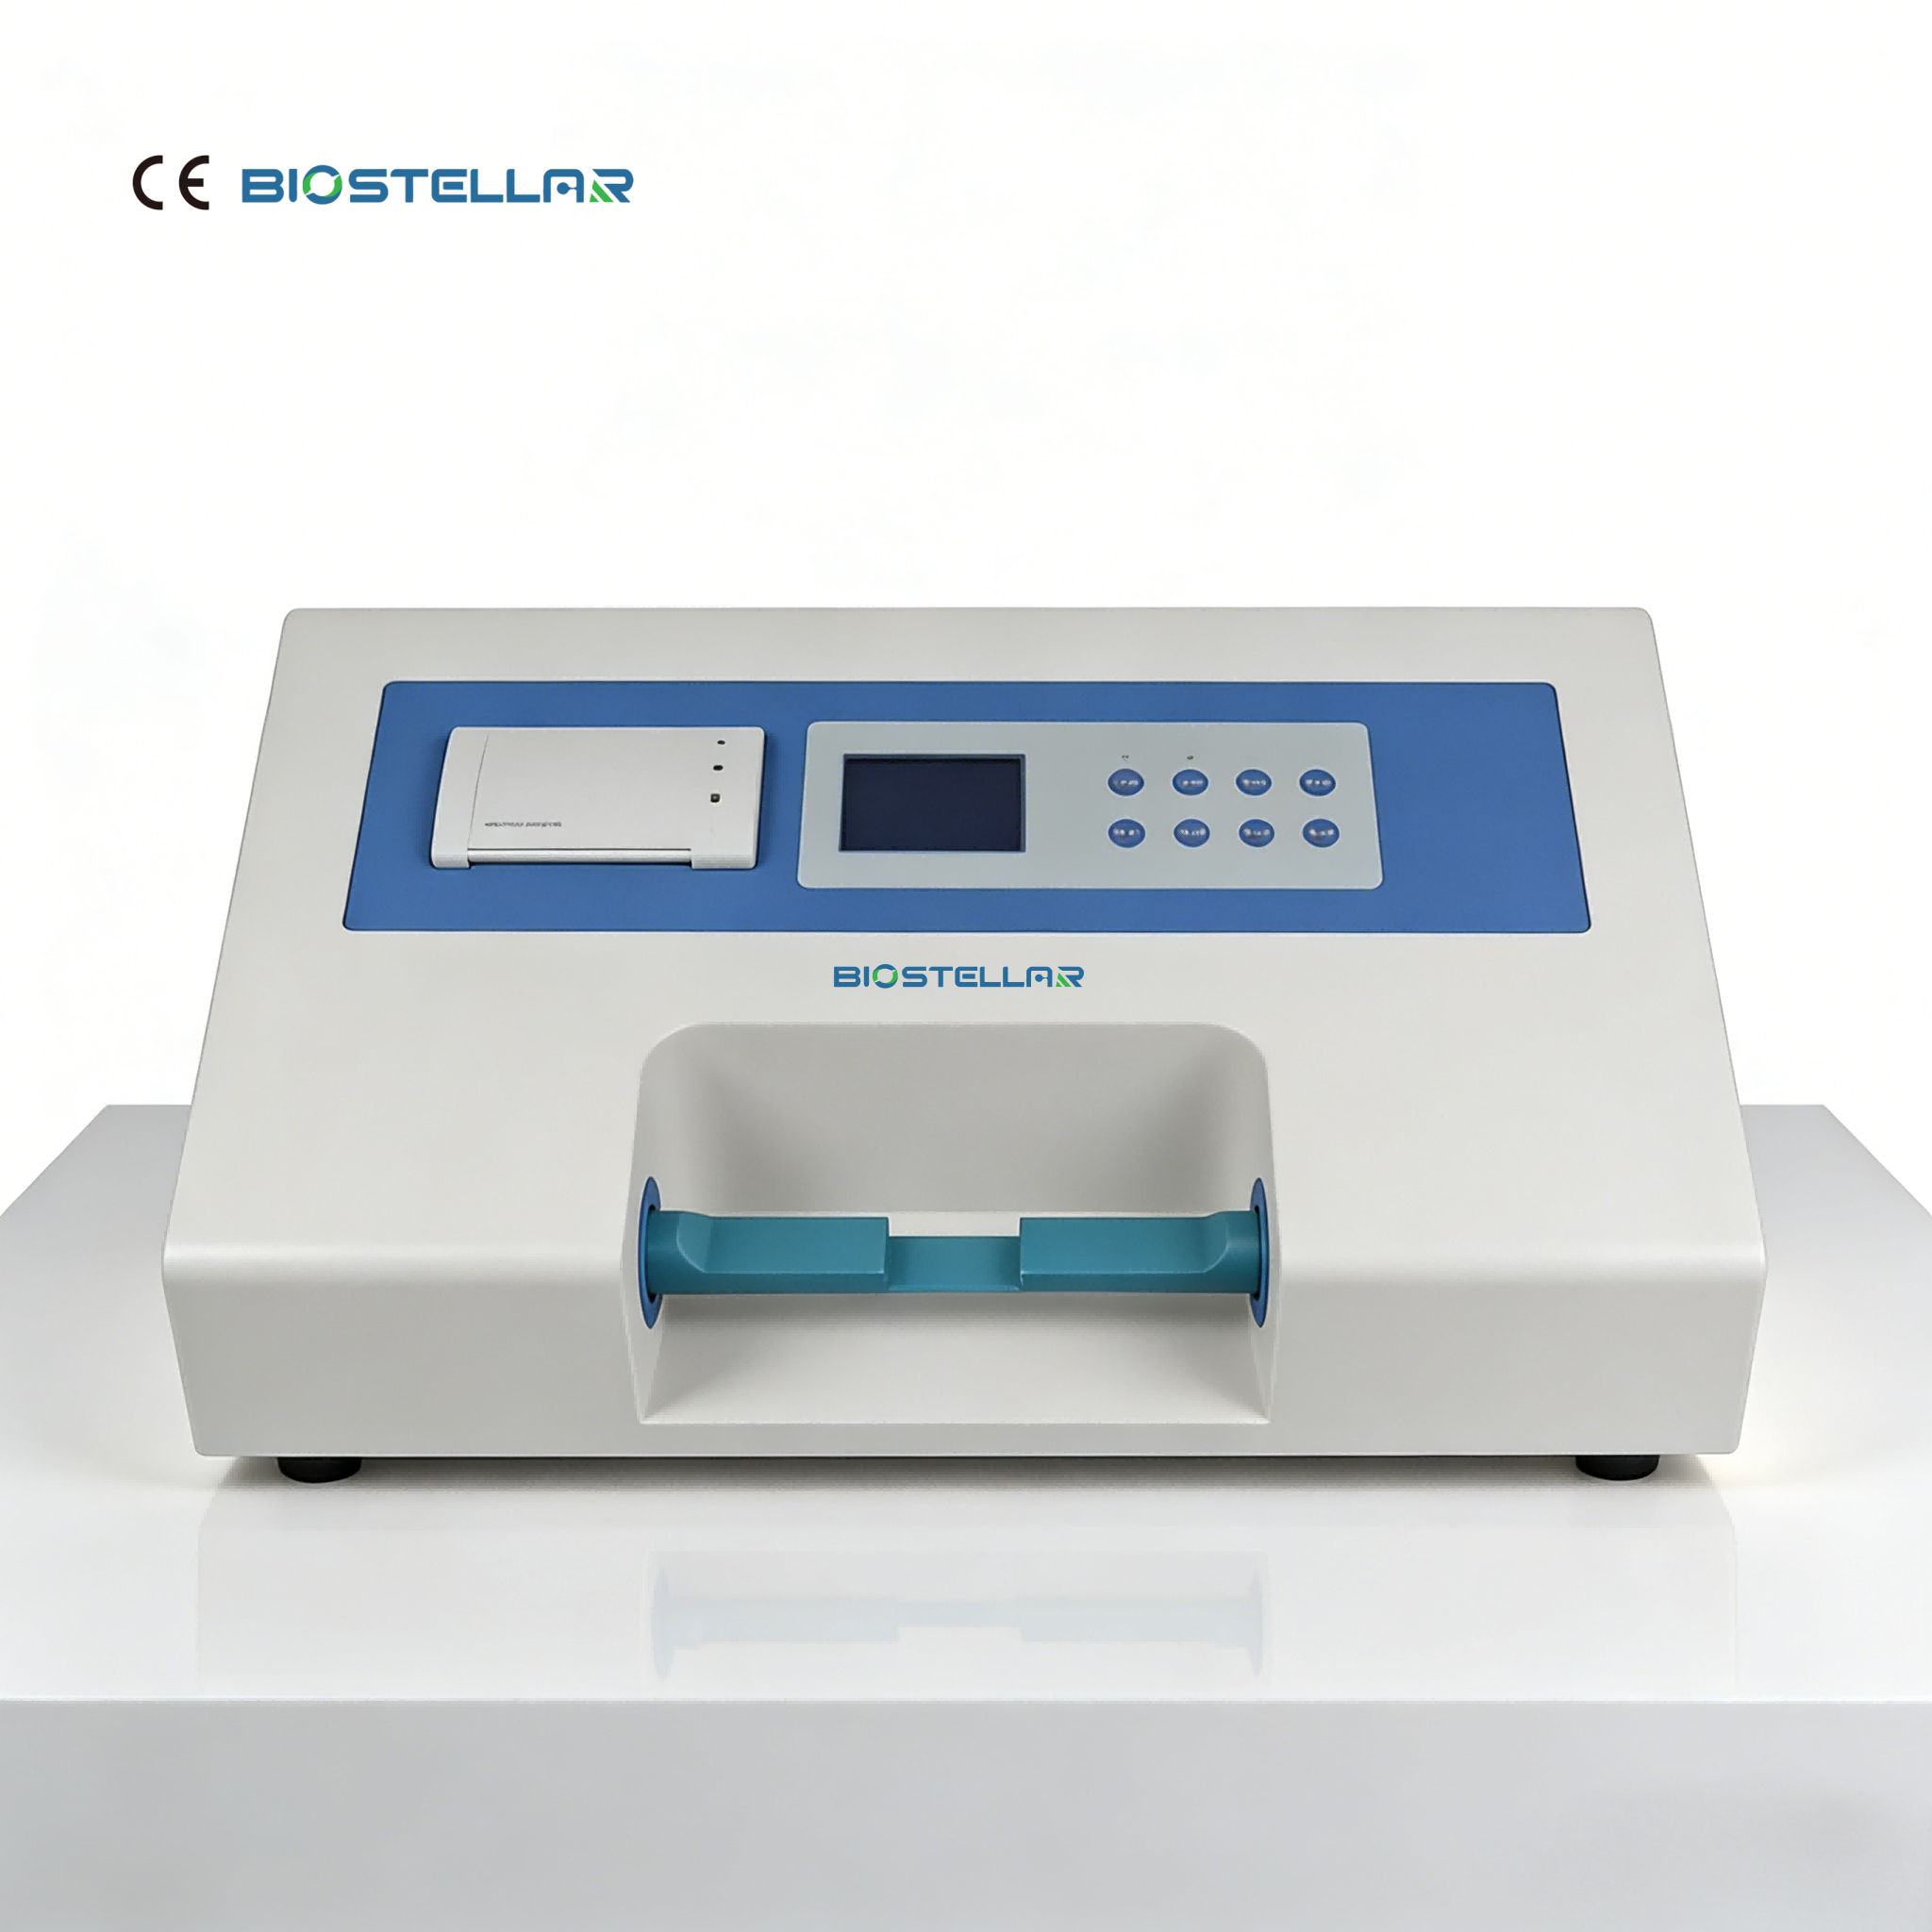
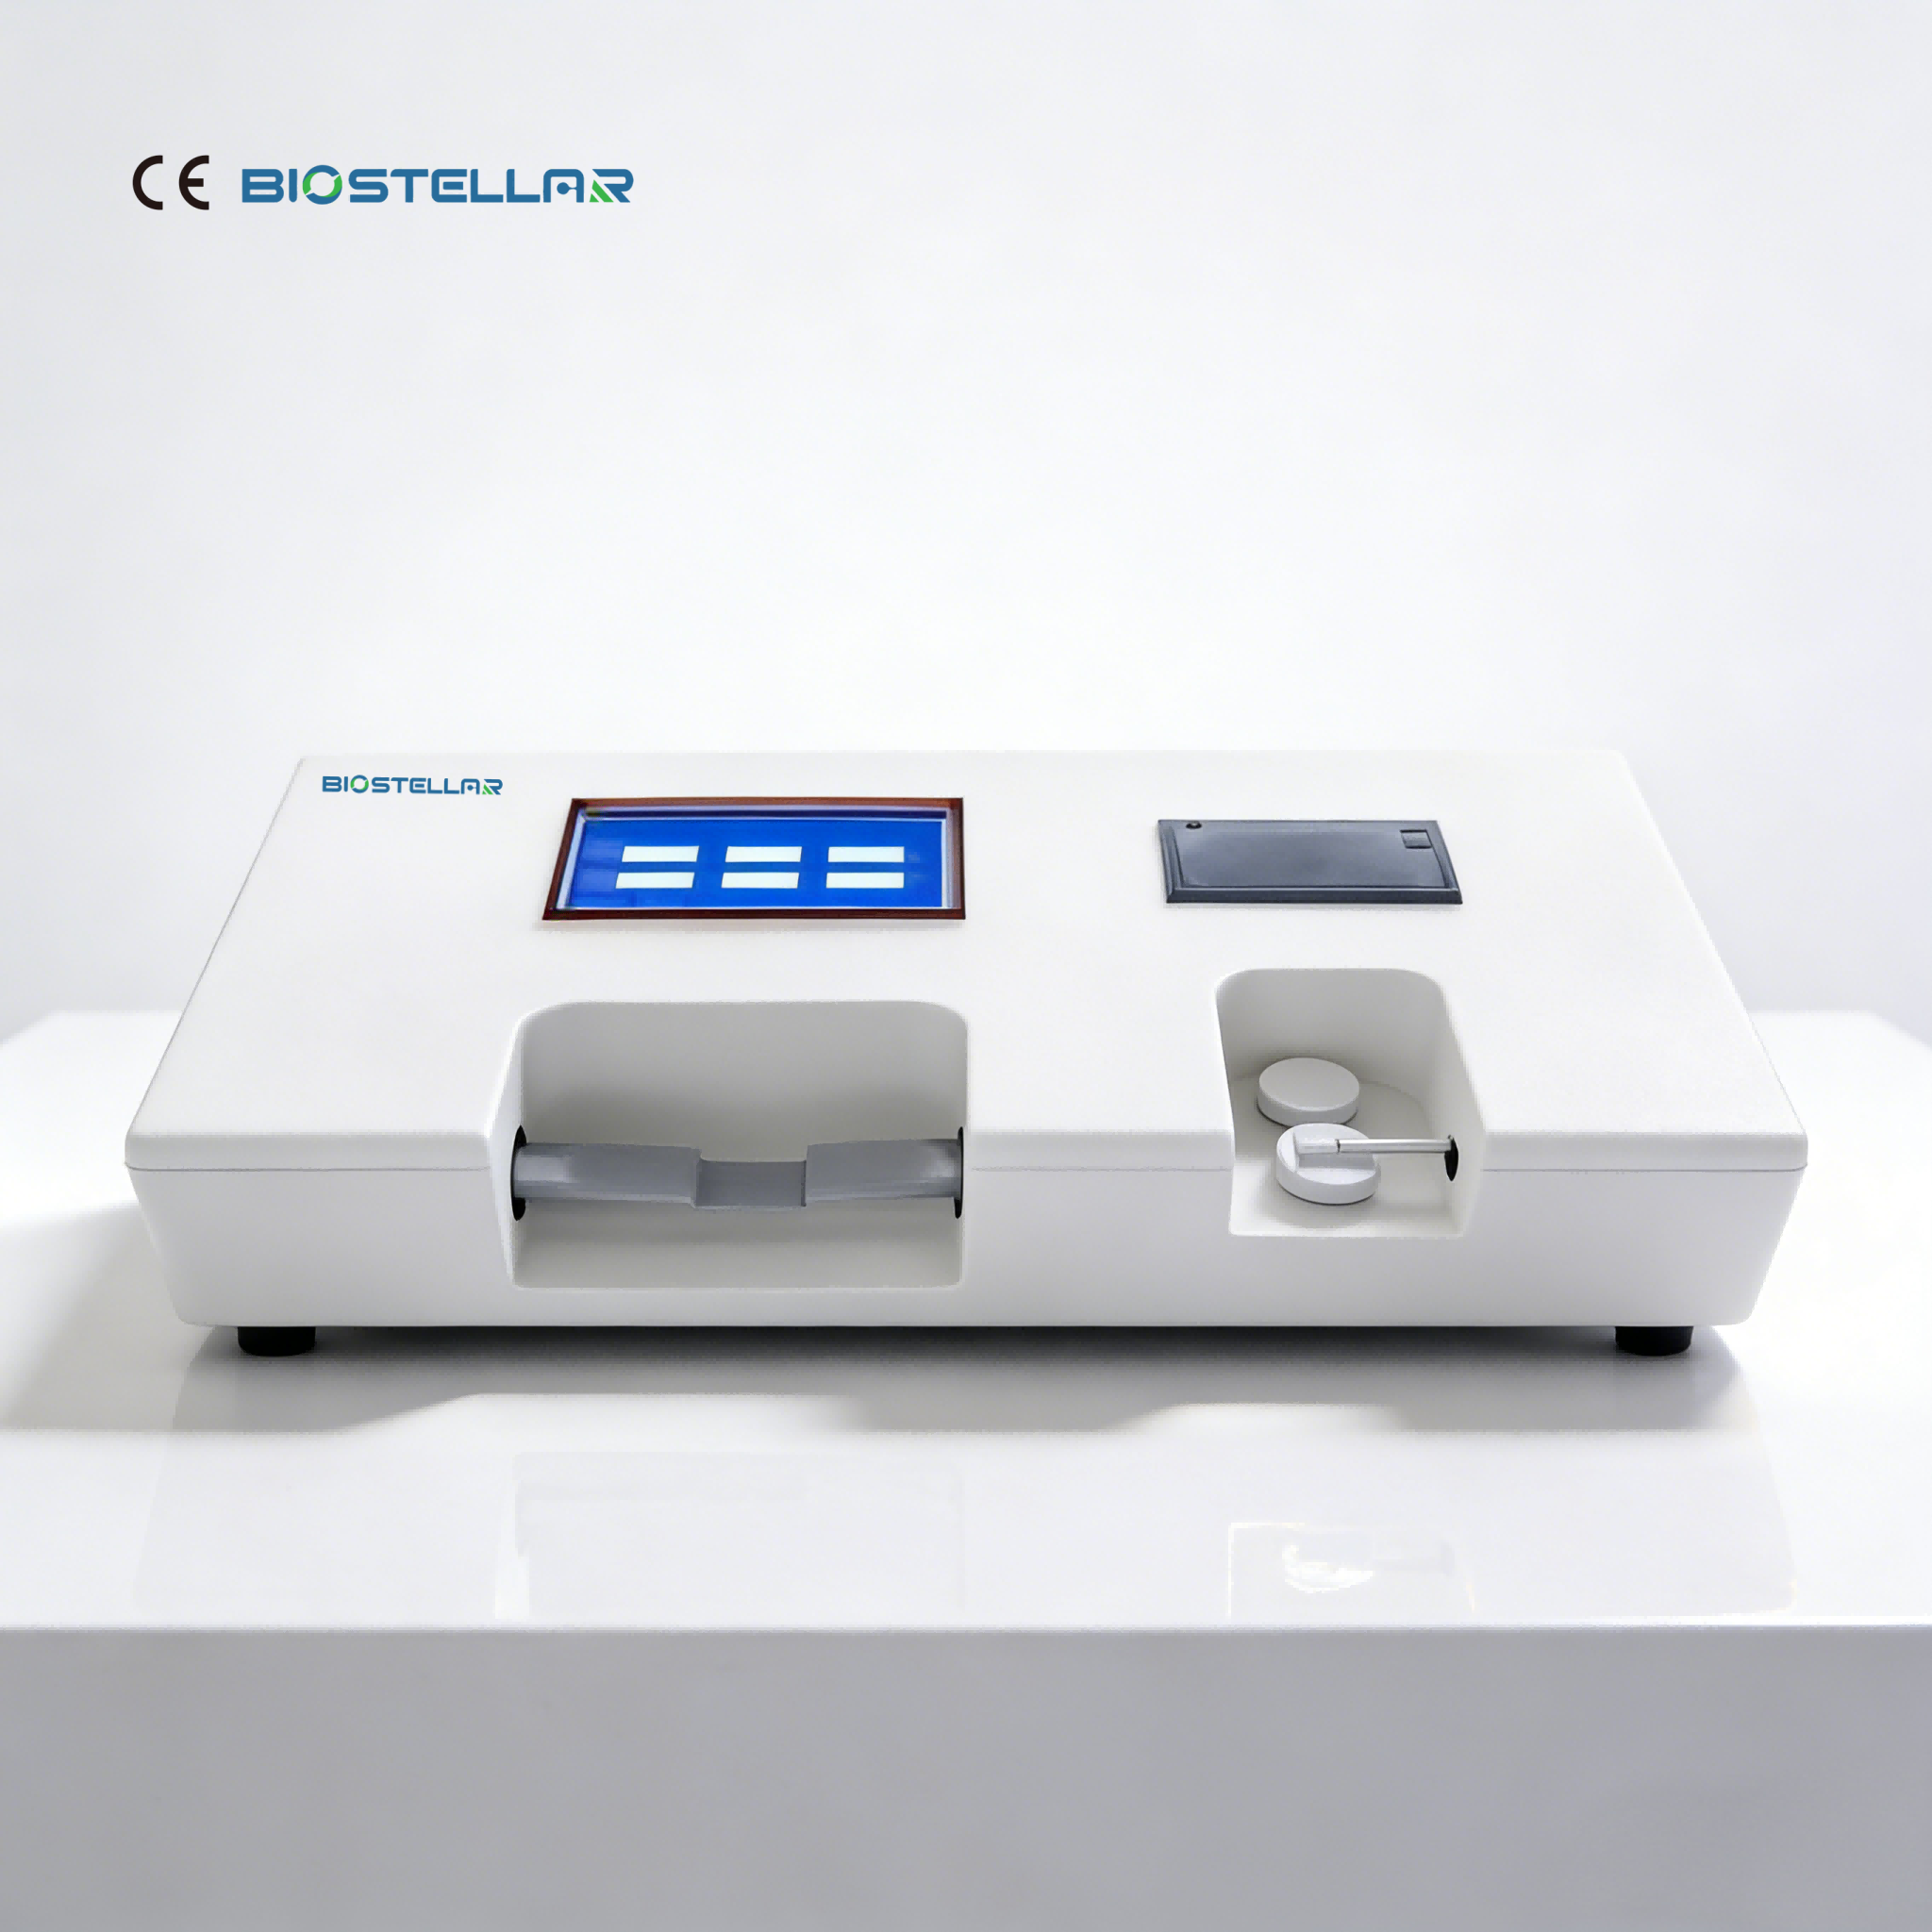
To ensure the accuracy and reliability of the hardness tester during sample testing, a standardized calibration procedure must be followed. This document provides complete and practical calibration steps for operators, even when referring to instructional videos for different equipment models.
The full calibration process consists of two main stages: Zero Point Calibration and Formal Calibration.
Step 1: Zero Point Calibration
Zero point calibration must be performed carefully to set an accurate reference baseline before formal testing.
Step 1.1: Zero Calibration
Make sure no object is placed on the hardness tester. The device must be completely unloaded to establish a correct zero reference.
Step 1.2: Calibration with a Small Weight
Select a small weight between 1 g and 20 g (e.g., a 5 g weight). Place it steadily on the tester; the display should show approximately 5 g. Then enter “5 grams” in the second input field on the interface and start calibration to verify and adjust the reading.
Note: The weighing range of this hardness tester is 1–100 grams. Compared with a standard laboratory balance, this instrument has lower measuring precision, so minor reading deviations are normal and acceptable.
After zero calibration, confirm the equipment status to ensure proper initialization before formal calibration.
Step 2: Formal Calibration
Operating Procedure: Place the hardness tester in an upright position. Find the hook on the left side of the instrument and firmly attach a 5 kg standard test weight. Once the weight is stable, launch the calibration program. Monitor the screen in real time — calibration is finished when the displayed value matches the 5 kg standard value exactly.
After successful calibration, the hardness tester is ready for sample testing. Please follow standard operating procedures to ensure accurate and reliable test results.
Share




SEND INQUIRY

Mailbox
stellawang@biostellarlab.cn

+86-15666095066

+86-15666095066

Adress
HanYu Gold Valley.The Intersection Of 10 Run
Road And South ShunHua Road High-Tech
Zone.JiNan Shandong Province CHINA