


SOLUTION DETAILS
2025-12-17
How to Use a Thermal Conductivity Tester? Complete Guide: Operation, Selection & FAQ
I. Core Value of Thermal Conductivity Tester: Why It's a Testing Necessity?
Thermal conductivity directly determines the performance of materials in the heat transfer process, and the accuracy of its test results directly affects product quality and safety in use. For example, in the R&D of new energy vehicle battery packs, deviations in the thermal conductivity data of heat dissipation materials may lead to the risk of battery overheating and fire; in the construction industry, inaccurate testing of the thermal conductivity of insulation materials will directly affect the energy consumption level of buildings.
The thermal conductivity tester quickly and accurately measures the thermal conductivity value of materials by simulating the heat transfer process in a specific environment, providing authoritative data support for material R&D optimization, production quality control, and product compliance certification. A high-quality thermal conductivity tester can not only ensure data accuracy but also improve testing efficiency through convenient operation, extend the service life of the device, and reduce enterprise testing costs.
II. Standard Operation Procedure of Thermal Conductivity Tester: Accurate Testing in 3 Steps
Standardized operation is the basis for ensuring the accurate test data of the thermal conductivity tester and the safe operation of the device. Many users cause distorted test results due to missing operation steps or improper parameter settings. The following sorts out the practical and verified standard operation procedures, which are applicable to mainstream models of thermal conductivity testers.
1. Power-On and Initialization: Lay the Foundation for Testing
First, connect the device to the power supply and enter the test interface. Prioritize checking the set temperatures of T1 (hot plate temperature) and T2 (cold plate temperature). If both are not "0", adjust them to "0". After confirming that both are set to "0", press the green "Start Operation" button on the control panel and wait for the device to complete the initial self-inspection. Proceed to the next operation only when the interface shows "Ready".
Note: If the device displays a fault alarm during initialization, first check the stability of the power supply and whether the device connection wires are loose. Do not start the device forcibly.
2. Sample Loading: Secure Placement for Stable Heat Transfer
Proper sample loading is crucial for test precision. Follow these steps: 1. Rotate the lifting switch to open the sample holder. 2. Place the sample (with thickness > 20mm) into the holder and clamp it tightly 3. Input the actual thickness of the sample into the system via the control panel using a calibrated measuring tool for maximum accuracy.
3. Parameter Setting: Critical Temperature Configuration with Temperature Difference Requirement
Accurate parameter setting is key to reliable results, with special attention to temperature difference control: 1. Set the test temperatures for T1 (guard hot plate), T2 (main hot plate) and T3 (cold plate) as required. Key Requirements: T1 and T2 must be set to the same temperature, and a temperature difference of 20°C between T1/T2 and T3 must be maintained. 2. Set the temperature of the constant temperature water tank, as T3 (cold plate) is controlled by it. This requires empirical adjustment to stabilize T3's temperature: Example: If T3 (cold plate) needs to reach 13°C, set the constant temperature water tank to approximately 11°C based on industry experience. Monitor the actual temperature during testing and make fine adjustments as needed to ensure T1=T2 and the 20°C temperature difference between T1/T2 and T3 is maintained.After each test is completed and before turning off the equipment, adjust the set temperatures of T1 and T2 back to 0°C to protect the heating modules from thermal damage and extend the service life of the equipment.
III. Selection and Maintenance of Thermal Conductivity Tester: Right Selection + Proper Use = Cost Reduction & Efficiency Improvement
In addition to standardized operation, correct selection and scientific maintenance can also improve the use value of the thermal conductivity tester and help enterprises reduce long-term operating costs.
1. Selection Skills: Matching Needs is the Key
When selecting a tester, focus on three core dimensions: first, test range, select a device with a corresponding range according to the thermal conductivity range of the material. For example, a low-range tester is required for testing insulation materials, while a high-range device is needed for metal materials; second, test accuracy, different industries have different accuracy requirements. The electronics industry usually requires an accuracy of within ±2%, while the construction industry can relax it to ±5%; third, sample adaptability, if irregular samples need to be tested, a device with an adjustable sample holder should be selected to avoid affecting the test due to sample fixing problems.
2. Maintenance Points: Extend Service Life and Ensure Accuracy
Do a good job in daily maintenance in the following aspects: clean the sample holder in time after each test to remove residual sample debris and avoid component corrosion; when the device is not in use for a long time, disconnect the power supply and cover it with a dust cover to prevent dust from entering the interior and affecting the circuit; calibrate the device regularly, it is recommended to have professional personnel perform accuracy calibration every six months to ensure the authority of the test data; pay attention to the working environment, avoid placing the device in a high-temperature, high-humidity or dusty environment. The ideal working temperature is 15-30°C, and the relative humidity is ≤60%.
IV. Frequently Asked Questions (FAQ): Solve Your Practical Pain Points
1. Q: The test data fluctuates repeatedly. What is the reason? A: It may be that the sample is not in close contact with the hot and cold plates. The sample surface needs to be reprocessed and clamped tightly; it may also be that the temperature of the constant temperature water tank is unstable. Check the heating/refrigeration system of the water tank to ensure the water temperature is constant.
2. Q: The device has no response after startup. How to troubleshoot? A: First, check whether the power socket is energized and whether the connection wires are loose; if the power supply is normal, it may be an initialization fault. Turn off the power and restart it after 30 seconds. If there is still no response, contact the manufacturer's after-sales service.
3. Q: Does sample thickness affect the test results? A: Yes, it has a significant impact. Too thin thickness will lead to excessive heat loss and low data; it is recommended that the thickness be no less than 20mm. If the sample thickness is insufficient, the superposition method should be adopted and the average thickness should be calculated accurately.
Conclusion: Standard Operation + Scientific Management to Maximize Device Value
Accurate testing with a thermal conductivity tester is an important line of defense to ensure product quality. Whether it is a novice or an experienced operator, it is necessary to strictly follow the standard operation procedures and pay attention to details such as sample processing and parameter setting. At the same time, scientific selection based on their own needs, good daily maintenance and regular calibration can ensure the long-term stable operation of the device and provide reliable data support for enterprise R&D and production. If you encounter special problems during the use of the device, it is recommended to contact the device manufacturer for professional technical support in time to avoid device damage caused by self-disassembly.
Share


Feature Product
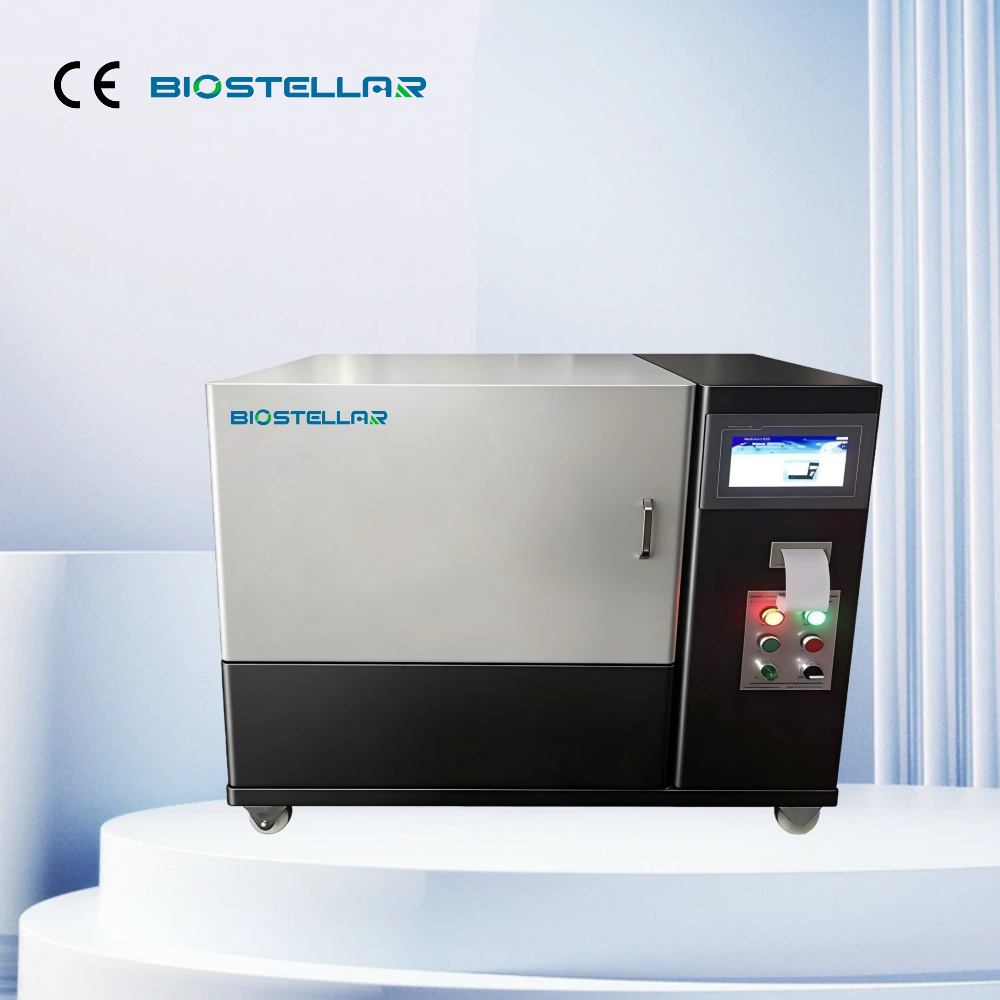
BS-DRS300 Heat Flow Meter Thermal Conductivity Tester
It is mainly used to test the thermal conductivity, thermal resistance of insulation materials, glass, fiber, foam and so on.
Explore more
SEND INQUIRY

Mailbox
stellawang@biostellarlab.cn

+86-15666095066

+86-15666095066

Adress
HanYu Gold Valley.The Intersection Of 10 Run
Road And South ShunHua Road High-Tech
Zone.JiNan Shandong Province CHINA