


SOLUTION DETAILS
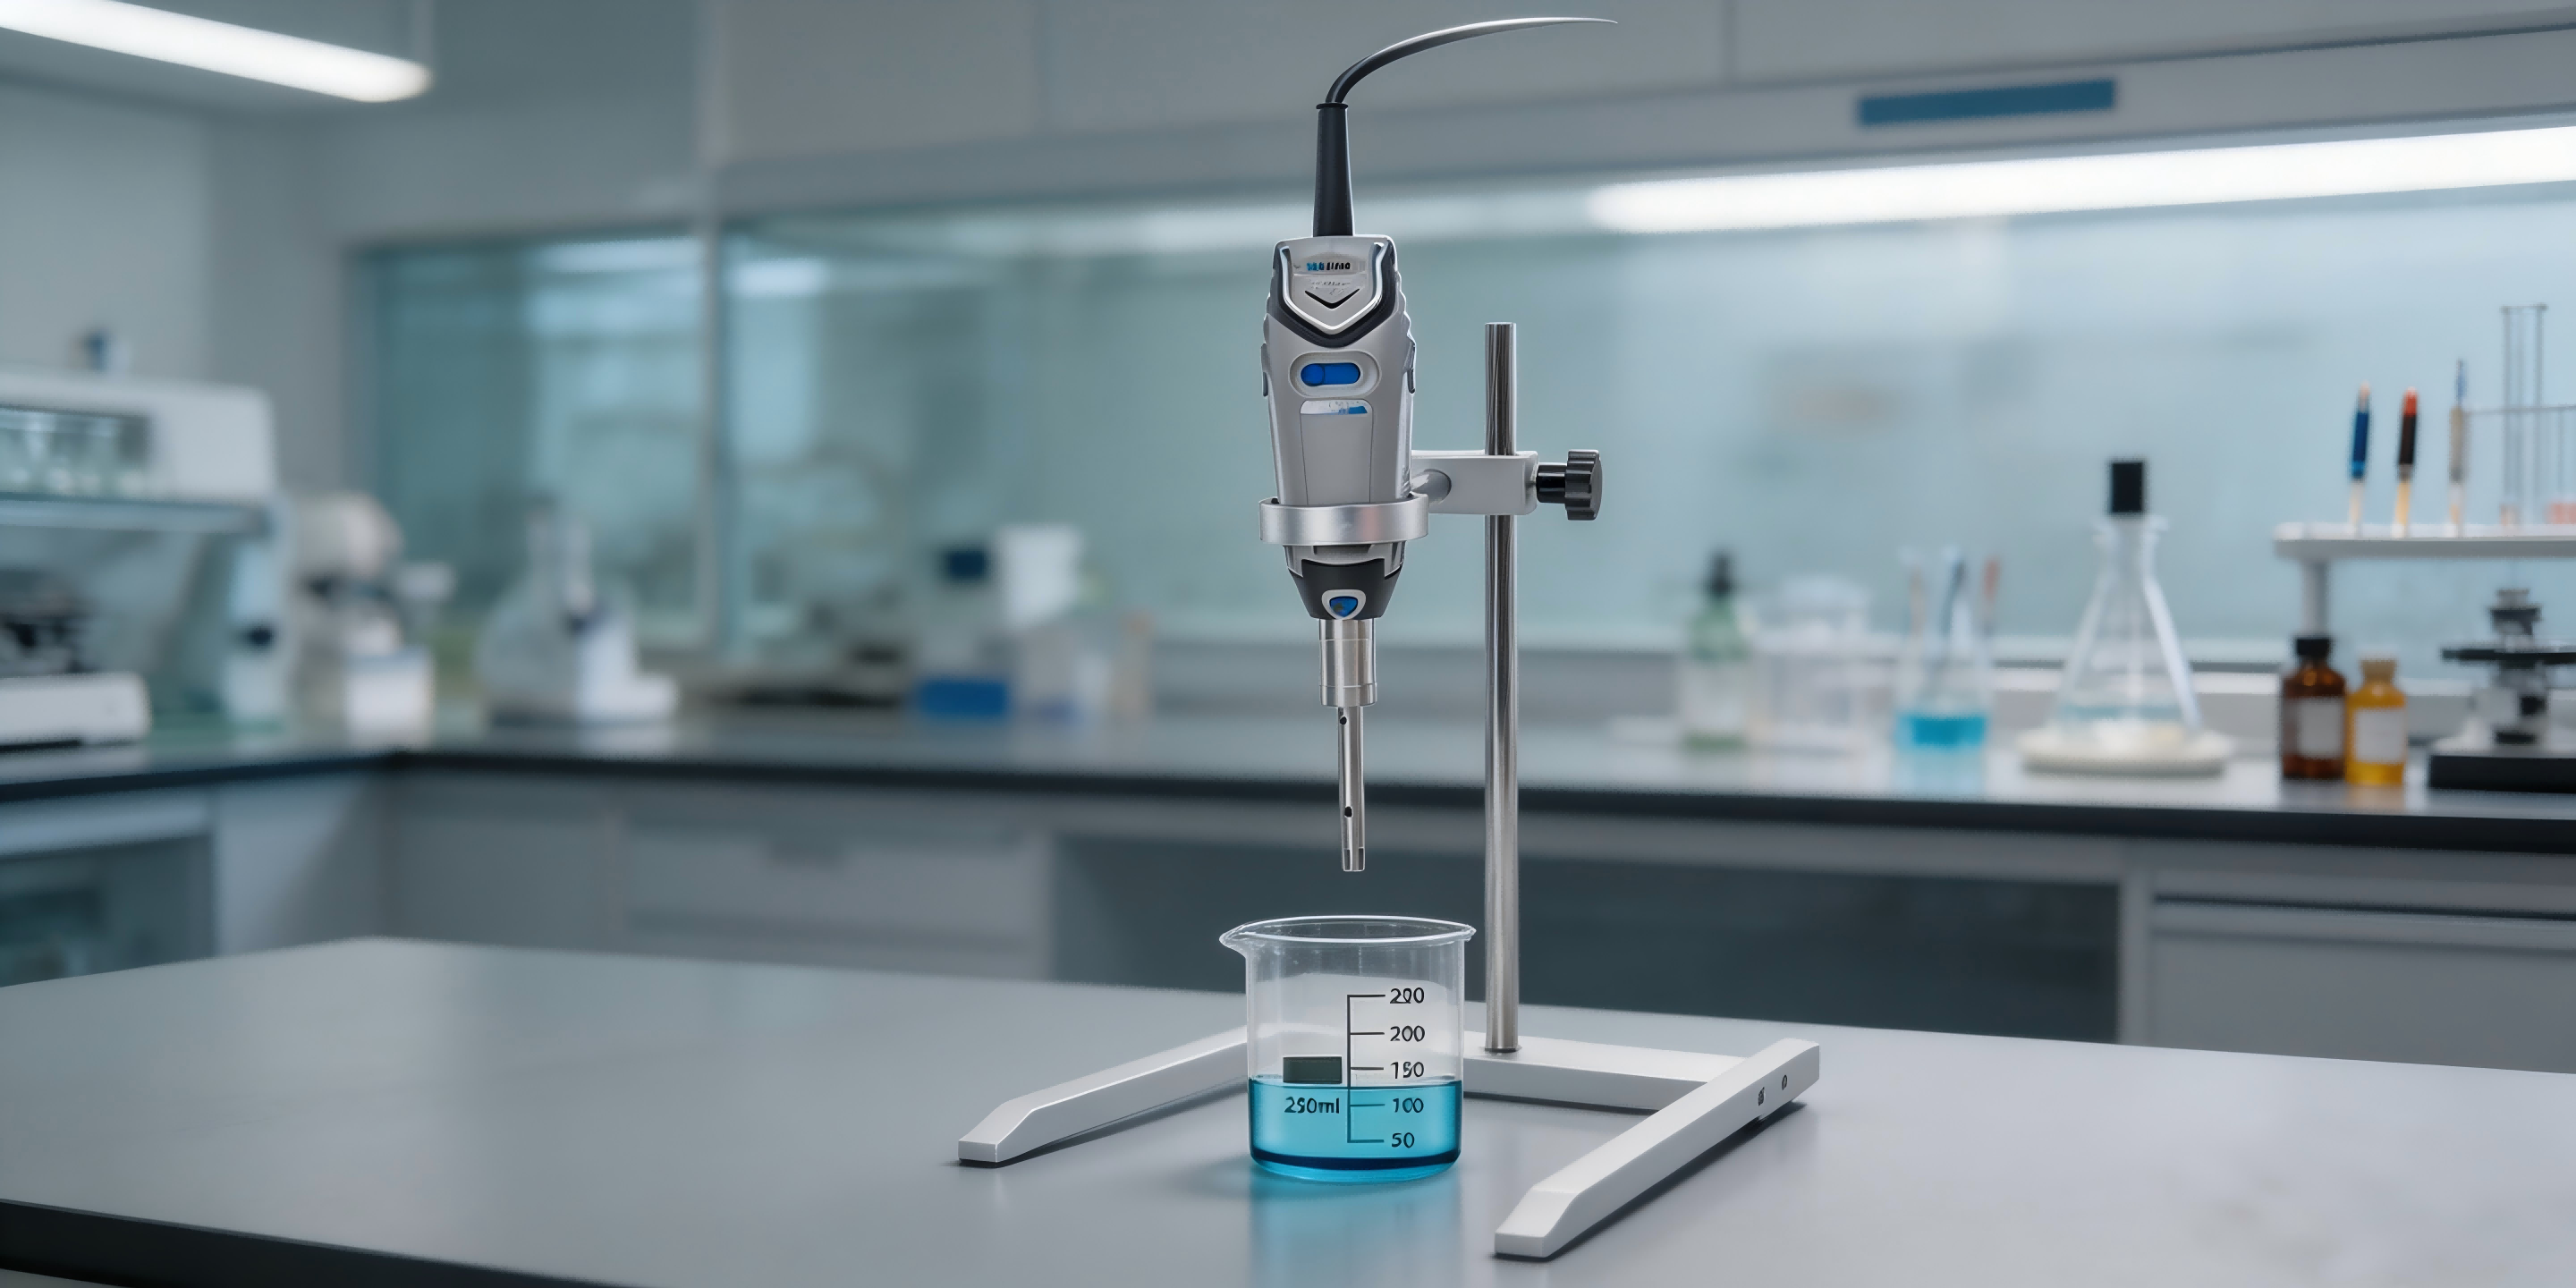
How to Homogenize 0.5g Kidney Tissue | Step-by-Step Protocol (Handheld Homogenizer Guide)
Introduction
Kidney tissue is dense and enzyme-rich, making tissue homogenization challenging—especially for small samples like 0.5g. Improper handling can lead to incomplete disruption or protein/RNA degradation.
In this guide, we’ll show you a step-by-step kidney tissue homogenization protocol using a handheld homogenizer, along with practical tips to ensure reproducible results for protein and RNA extraction.
What You Need Before Homogenization
To achieve consistent results, prepare the following:
- Handheld tissue homogenizer (high-speed, 8000–30000 rpm)
- Sterile centrifuge tubes (1.5–5 mL)
- Pre-chilled lysis buffer
- RIPA (protein extraction)
- TRIzol (RNA extraction)
- Protease or RNase inhibitors
- Ice bath (critical for temperature control)
👉 Keeping everything cold is essential to prevent sample degradation.
Best Probe Size for 0.5g Kidney Tissue
👉 For small-volume tissue homogenization, a smaller probe ensures better precision and less air bubble formation.
Step-by-Step Tissue Homogenization Protocol
Step 1: Sample Preparation
- Keep tissue on ice at all times
- Cut 0.5g kidney tissue into <1 mm pieces
- Add 1.5–2 mL cold lysis buffer (1:3–1:4 ratio)
Step 2: Device Setup
- Install a pre-chilled probe
- Set speed to 28000–30000 rpm
- Ensure smooth operation before use
Step 3: Homogenization Process
Use short pulse mode:
- Run for 5–8 seconds
- Pause for 30 seconds (on ice)
- Repeat 2–3 cycles
👉 Keep the probe immersed ~2/3 into the liquid
👉 Avoid touching tube walls
Step 4: Temperature Control
- Maintain sample at ≤4°C
- Cool probe between cycles if needed
👉 Overheating is the #1 cause of RNA/protein degradation
Step 5: End Point
Homogenization is complete when:
- Solution is uniform
- No visible tissue fragments remain
Share


SEND INQUIRY

Mailbox
stellawang@biostellarlab.cn

+86-15666095066

+86-15666095066

Adress
HanYu Gold Valley.The Intersection Of 10 Run
Road And South ShunHua Road High-Tech
Zone.JiNan Shandong Province CHINA